The bathroom is often considered a sanctuary, a place where we start and end our day. Among the various elements that contribute to a comfortable and functional bathroom, the shower installation holds a special place. If you’re considering a shower installation or planning to upgrade your existing one, this guide will walk you through the process, ensuring a rejuvenating and seamless experience.
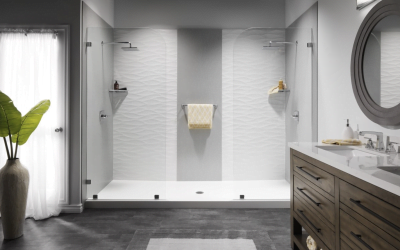
Choosing the Right Shower:
Before diving into the installation process, it’s crucial to select the right shower installation for your needs. Consider factors such as the available space, budget, and your preferences. From classic fixed showers to luxurious rain showers and handheld options, the market offers a plethora of choices to cater to different tastes and requirements.
Planning and Measurements:
Proper planning is the key to a successful shower installation. Begin by measuring the available space to determine the ideal size and shape for your new shower. Consider the placement of existing plumbing and fixtures to ensure a smooth transition. It’s also essential to check the water pressure in your home, as this can impact your choice of shower system.
Preparation:
Once you’ve chosen the perfect shower, the next step is to prepare the installation area. Start by removing any existing fixtures and ensuring that the walls and floor are in good condition. If necessary, repair or replace any damaged surfaces to create a clean and stable foundation for your new shower.
Plumbing and Drainage:
Installing a shower involves connecting it to the existing plumbing system. If you’re replacing an old shower, this step may be less complex, as the plumbing infrastructure is likely already in place. However, for new installations or significant upgrades, it’s crucial to consult with a professional plumber to ensure proper drainage and water supply.
Waterproofing:
To prevent water damage and ensure the longevity of your shower installation, waterproofing is a critical step. Apply a high-quality waterproof membrane to the walls and floor, creating a barrier that prevents moisture from seeping into the surrounding structures. This step is especially important in tiled showers, where grout lines can be vulnerable to water penetration.
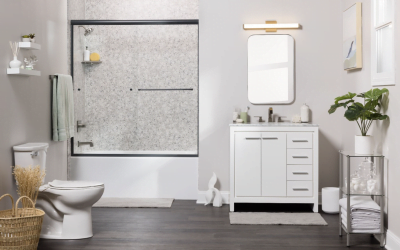
Installation of Fixtures and Accessories:
With the foundation in place, it’s time to install the shower fixtures and accessories. This includes the showerhead, faucets, handles, and any additional features such as built-in shelving or seating. Pay attention to the manufacturer’s instructions and recommendations to ensure a secure and functional installation.
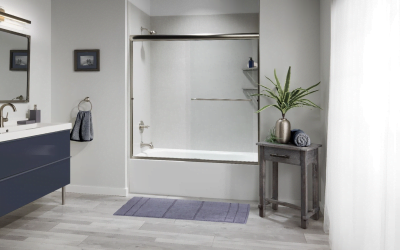
Final Touches:
Once the fixtures are in place, it’s time for the final touches. Seal any gaps or joints to enhance the waterproofing, and test the shower to ensure that all components are functioning correctly. Consider adding a finishing touch, such as a stylish shower curtain or glass door, to complete the look of your new shower.
A well-executed shower installation can transform your bathroom into a spa-like retreat, elevating your daily routine to a luxurious experience. By carefully planning, measuring, and following each step of the installation process, you can create a functional and aesthetically pleasing shower that adds value to your home and enhances your overall well-being.