Few things rival the relaxation and indulgence of a long soak in a luxurious bathtub. Whether you’re renovating your bathroom or building a new home, the installation of a bathtub is a crucial aspect that requires careful consideration. In this comprehensive guide, we’ll walk you through the essential steps and considerations for a successful bathtub installation, turning your bathroom into a personal spa retreat.
Choosing the Right Bathtub:
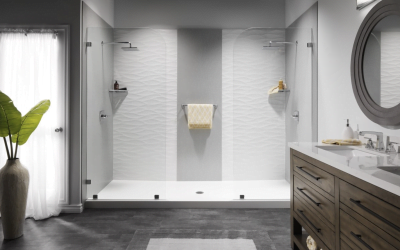
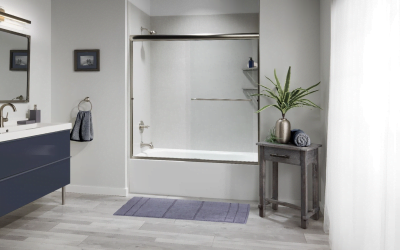
The first step in any bathtub installation project is selecting the right bathtub for your space and preferences. Consider factors such as size, style, material, and features. Freestanding, alcove, corner, and drop-in bathtubs each have their own advantages, so choose one that suits your bathroom layout and design.
Measuring and Planning:
Accurate measurements are key to ensuring a seamless bathtub installation. Measure the available space, accounting for plumbing fixtures and any potential obstacles. Plan the layout carefully, considering the location of the bathtub, adjacent walls, and windows. This stage is crucial in avoiding any surprises during the installation process.
Preparing the Space:
Once you’ve chosen and planned for your bathtub, it’s time to prepare the installation space. Ensure that the floor is level and sturdy enough to support the weight of the bathtub, especially if you’re opting for a freestanding model. Make any necessary repairs to the walls and floor before proceeding with the installation.
Plumbing Considerations:
Bathtub installation involves connecting the plumbing fixtures, so it’s essential to consider the plumbing requirements early in the process. If you’re replacing an existing bathtub, you may be able to use the existing plumbing, but modifications might be needed for a new location or style of bathtub. Consult a professional plumber to ensure all connections are watertight and up to code.
Installing the Drain and Overflow:
Proper installation of the bathtub drain and overflow is critical to prevent leaks and water damage. Follow the manufacturer’s instructions carefully, and use plumber’s putty or silicone caulk to create a watertight seal. Ensure that the drain and overflow are securely attached to the plumbing beneath the bathtub.
Securing the Bathtub:
Depending on the type of bathtub you’ve chosen, securing it properly is essential. Freestanding tubs may require additional support, while alcove or drop-in tubs may need to be properly framed and leveled. Follow the manufacturer’s guidelines for securing the bathtub in place to prevent any movement or instability.
Sealing and Finishing:
Once the bathtub is securely installed, it’s time to seal the seams and joints to prevent water leakage. Use a high-quality waterproof caulk to seal the edges around the bathtub, paying close attention to the areas where it meets the walls and floor. Allow the caulk to dry completely before moving on to the finishing touches.
Final Touches:
Complete your bathtub installation with the final touches that enhance both functionality and aesthetics. Install any additional features, such as a showerhead or bathtub faucet, and ensure that all fixtures are properly connected. Consider adding a stylish surround, tiles, or a splash guard to protect the walls from water damage.
A well-executed bathtub installation can transform your bathroom into a haven of relaxation and luxury. By carefully choosing the right bathtub, measuring and planning effectively, and following the proper installation steps, you can create a spa-like atmosphere in the comfort of your own home. Don’t hesitate to seek professional assistance if needed, ensuring a seamless and enjoyable bathing experience for years to come.